Flowers have the incredible ability to brighten up any room and lift our spirits, but they can also come with a hefty price tag when bought from a florist.
If you love fresh blooms but want to add a personal touch, creating your own DIY flower arrangements is a fun, creative, and budget-friendly way to enjoy beautiful flowers in your home. Whether you’re preparing for a special occasion, sprucing up your living space, or simply indulging in a little floral fun, arranging flowers yourself allows you to express your style and creativity.
In this post, we’ll guide you through the process of creating stunning DIY flower arrangements with simple techniques and easy-to-find materials.
1. Choose Your Flowers
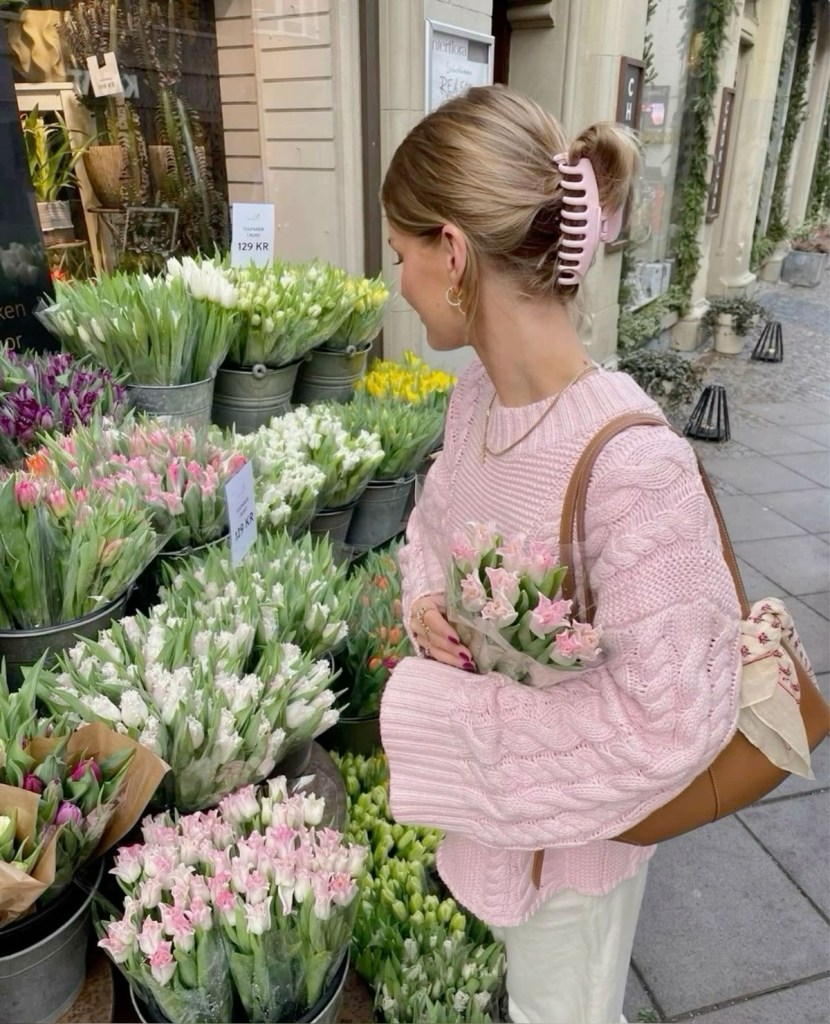
The first step in creating a beautiful flower arrangement is choosing the right flowers. Consider the occasion, the colors you love, and the mood you want to create. For example, roses or lilies are perfect for romantic settings, while sunflowers, daisies, and tulips bring a cheerful, spring-like vibe.
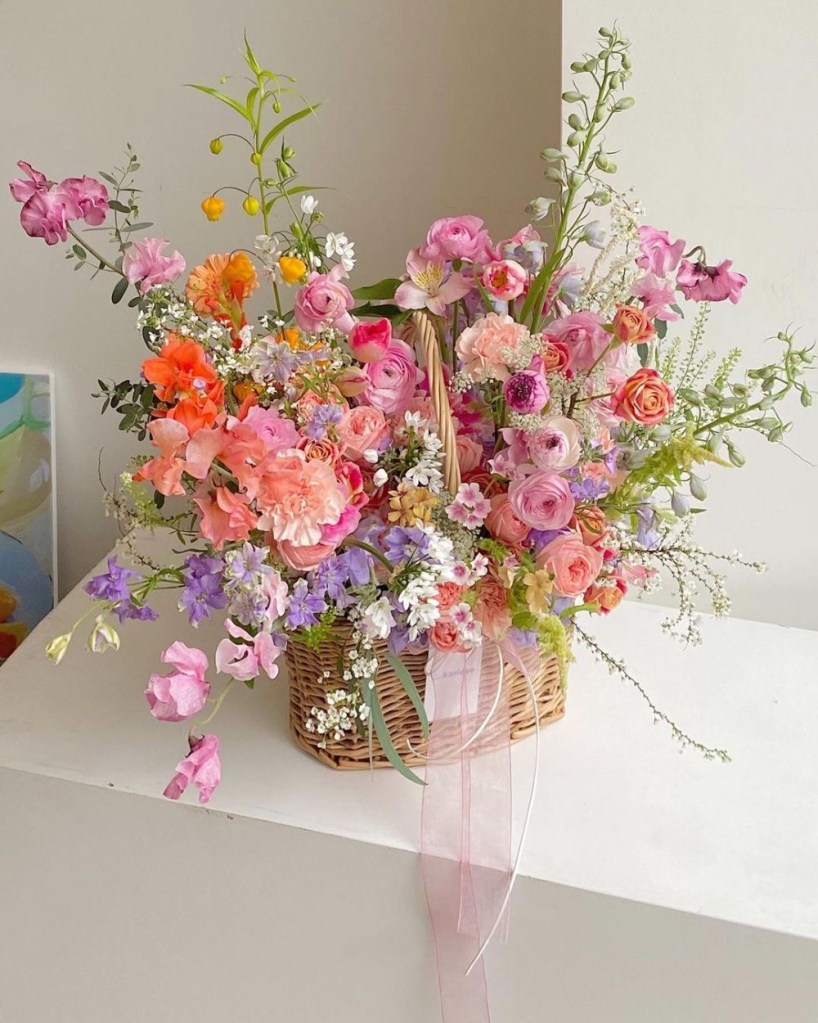
You can mix and match flowers, but try to pick a variety that complements one another in terms of color and size. A good rule of thumb is to select three types of flowers: a focal flower (like a large bloom), a secondary flower (such as smaller blooms), and greenery (like eucalyptus or ferns) to fill in the gaps and add texture.
If you’re unsure where to start, you can always go for a monochromatic look, where all the flowers are in a single color or varying shades of the same hue, or a complementary color palette, like purple and yellow or pink and green, which look beautiful together.
2. Gather Your Tools and Materials
Before you start arranging, make sure you have all the tools and materials you need. Here’s a simple list to get you started:
- Fresh flowers (mix of focal flowers, secondary flowers, and greenery)
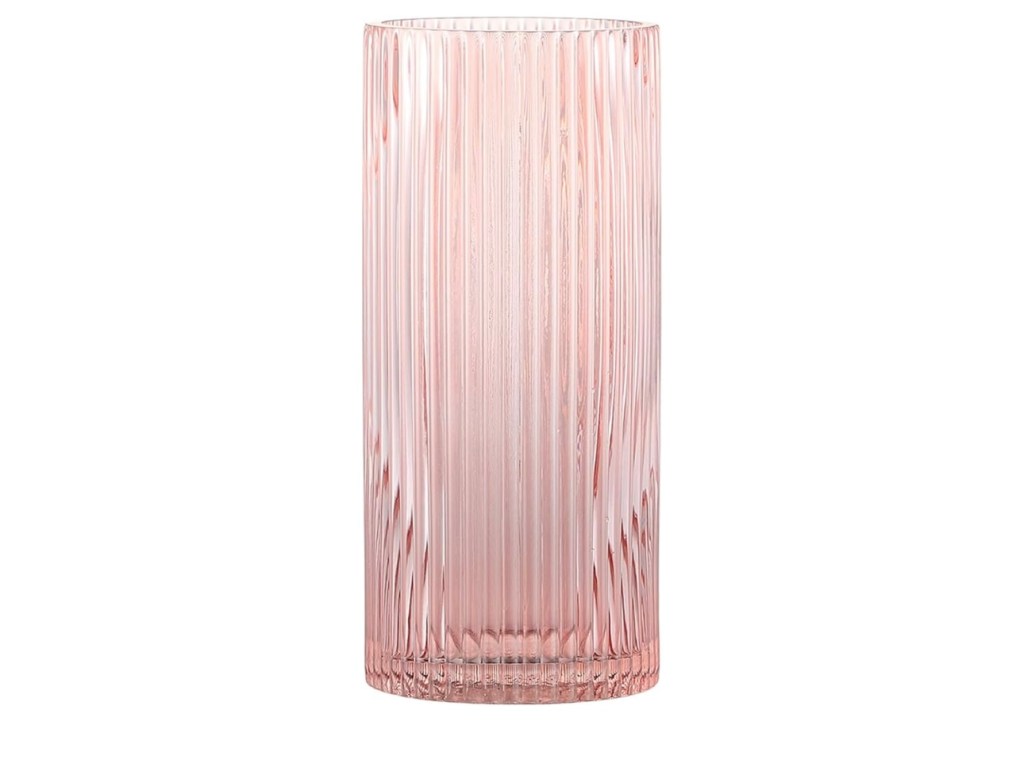
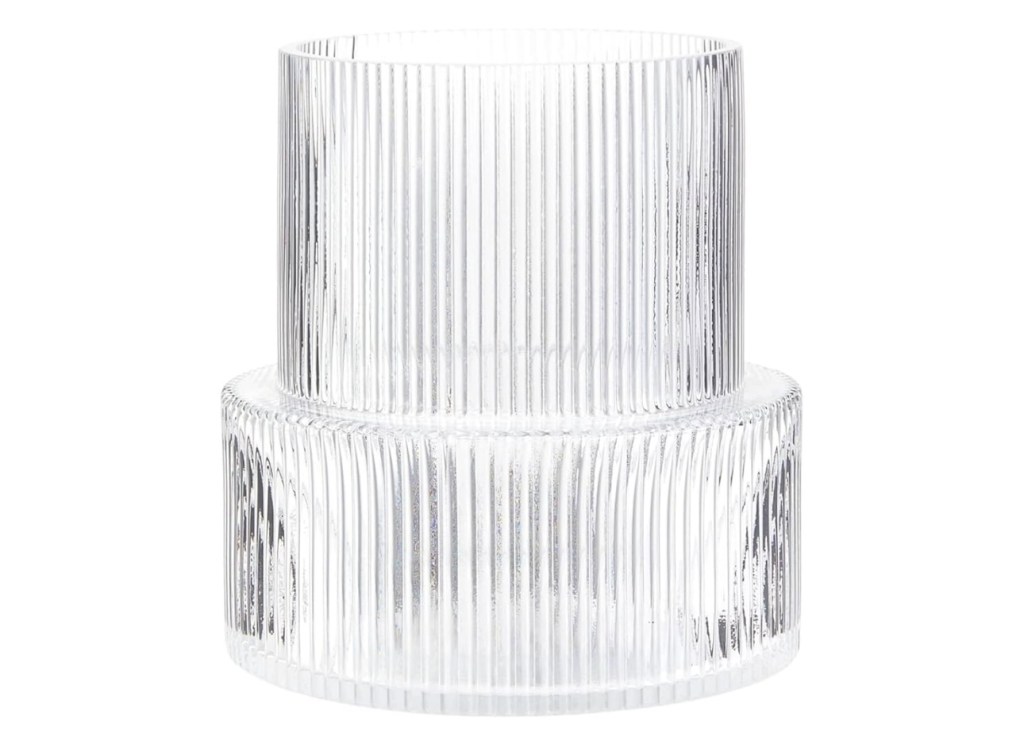
- A clean vase or container
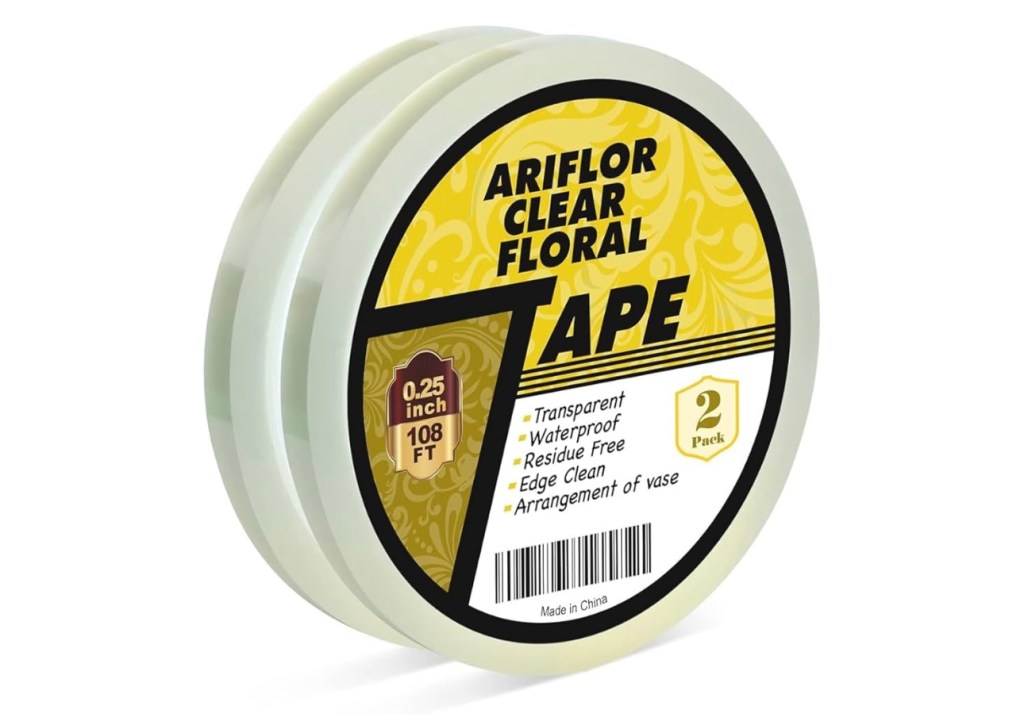
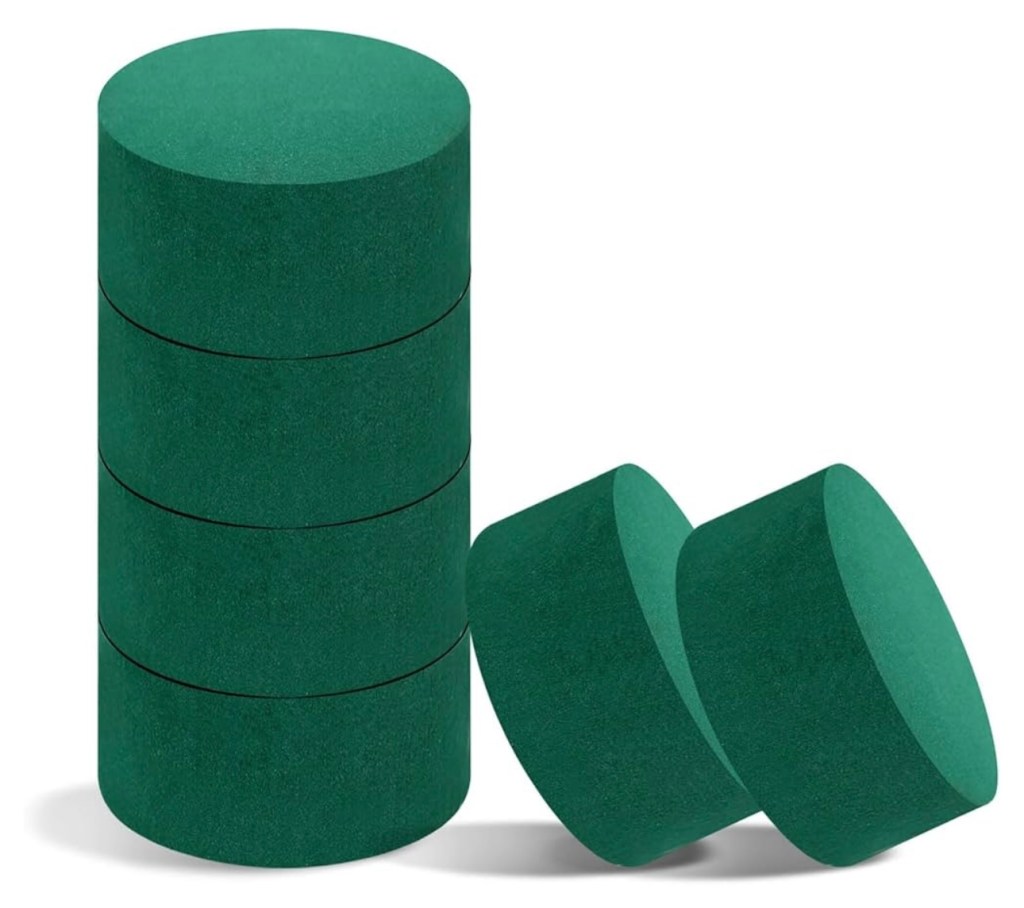
- Floral tape or floral foam (to help hold flowers in place)
Click Here
Click Here
- Sharp scissors or pruning shears

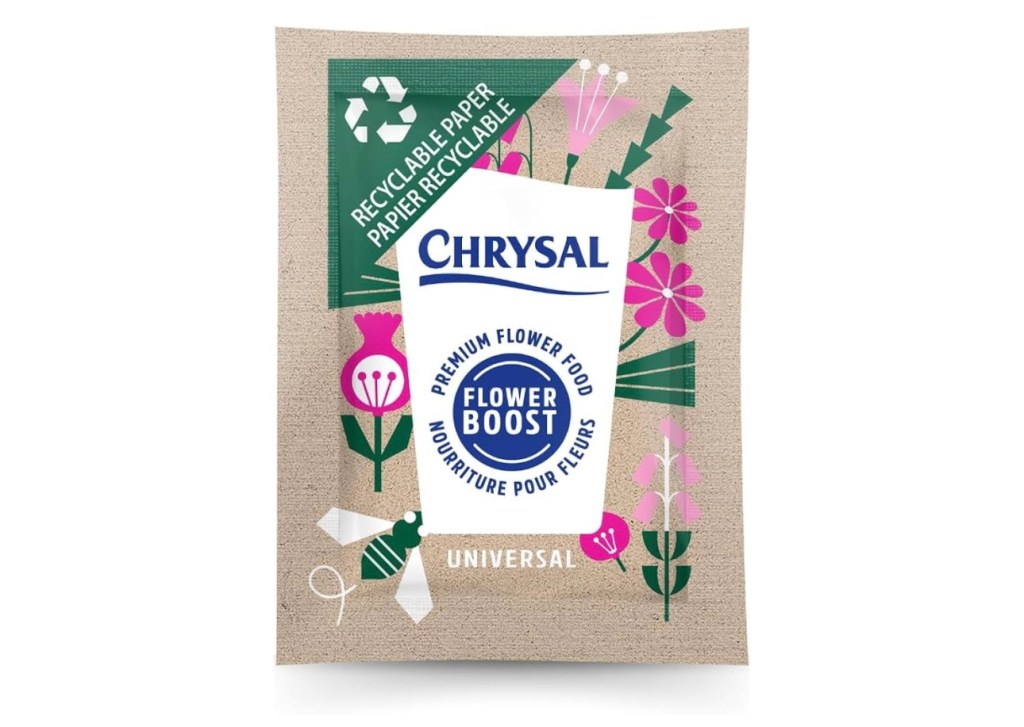
- Water and flower food (optional but recommended for longer-lasting arrangements)
You don’t need to invest in fancy tools—simple scissors will work just fine, and you can even use a mason jar, pitcher, or any container you have lying around as your vase.
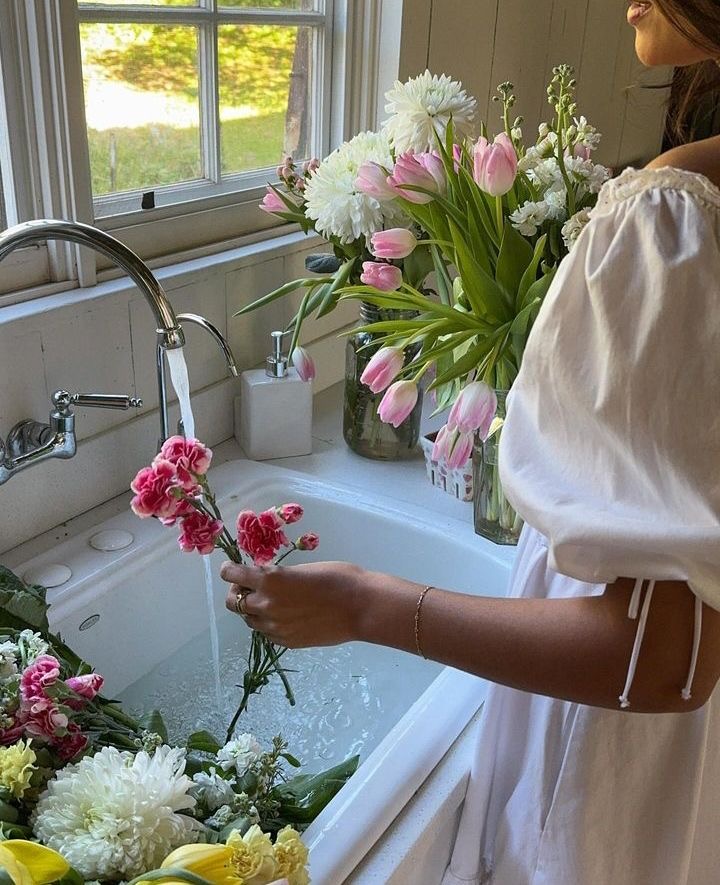
3. Prepare Your Flowers
Once you’ve chosen your flowers, it’s time to prepare them for the arrangement. Start by trimming the stems at a 45-degree angle under running water, which helps the flowers absorb water more easily and prevents air bubbles from forming in the stems. Remove any leaves that would sit below the water line to prevent them from rotting in the water. Be sure to cut the stems to fit the height of your vase or container.
If you’re using floral foam, soak it in water for about 30 minutes before placing it in your vase to ensure it’s fully hydrated.
4. Start with the Focal Flowers
Begin arranging by placing your focal flowers first. These are usually the largest and most eye-catching blooms, so they should be positioned towards the center of the arrangement or at the highest point. This helps create the structure and form of your bouquet. Arrange them at different heights and angles for a more natural, balanced look.
5. Add Secondary Flowers and Fillers
Next, add your secondary flowers, which should be placed around the focal flowers to fill in any empty spaces. These blooms don’t need to be as prominent, but they help provide depth and contrast to the arrangement. You can also add filler flowers like baby’s breath or smaller blooms that complement the main flowers.
After that, arrange the greenery. This can be placed around the edges or throughout the arrangement to add texture, volume, and a lush look. Eucalyptus, ferns, or even ivy can give your bouquet a fresh, garden-like feel.
6. Adjust and Balance
Once you’ve added all your flowers and greenery, take a step back and look at the arrangement from different angles. Does it feel balanced? Are there any spots that look too sparse or crowded? Adjust the flowers as needed to create a natural, cohesive shape. You can also gently rotate the vase to ensure the arrangement looks great from all sides.
7. Final Touches and Care
After you’re happy with the arrangement, give the stems a final trim to ensure they’re all at the same length and will sit comfortably in the vase. Fill the vase with fresh water, and if you have flower food, add it according to the instructions on the packet.
To help your flowers last longer, place the arrangement in a cool spot away from direct sunlight and change the water every two days. Trim the stems a little bit each time you change the water to keep the flowers fresh.
Closing Thoughts: Let Your Creativity Bloom
Creating DIY flower arrangements is a fun and rewarding way to bring the beauty of fresh blooms into your home without the steep price tag of a florist. With just a few flowers, a bit of creativity, and a few simple tools, you can design stunning bouquets that brighten up any space and reflect your personal style. Whether you’re celebrating a special occasion or simply enjoying nature’s beauty, these arrangements are the perfect way to embrace the art of floral design. So, gather your favorite flowers, get creative, and let your floral arrangements bloom with personality and charm! Happy arranging! 🌸

Leave a comment